Thursday, July 28, 2011

Misfit Quilt

A long, long time ago ... I mean YEARS and YEARS ... I found a quilt for sale in a consignment/crafts shop. CHEAP. I'm thinking perhaps in the 50-cent range? Well ... there are a lot of things "wrong" with it. But I didn't care - I was drawn to the cheerful colors and prints in it.


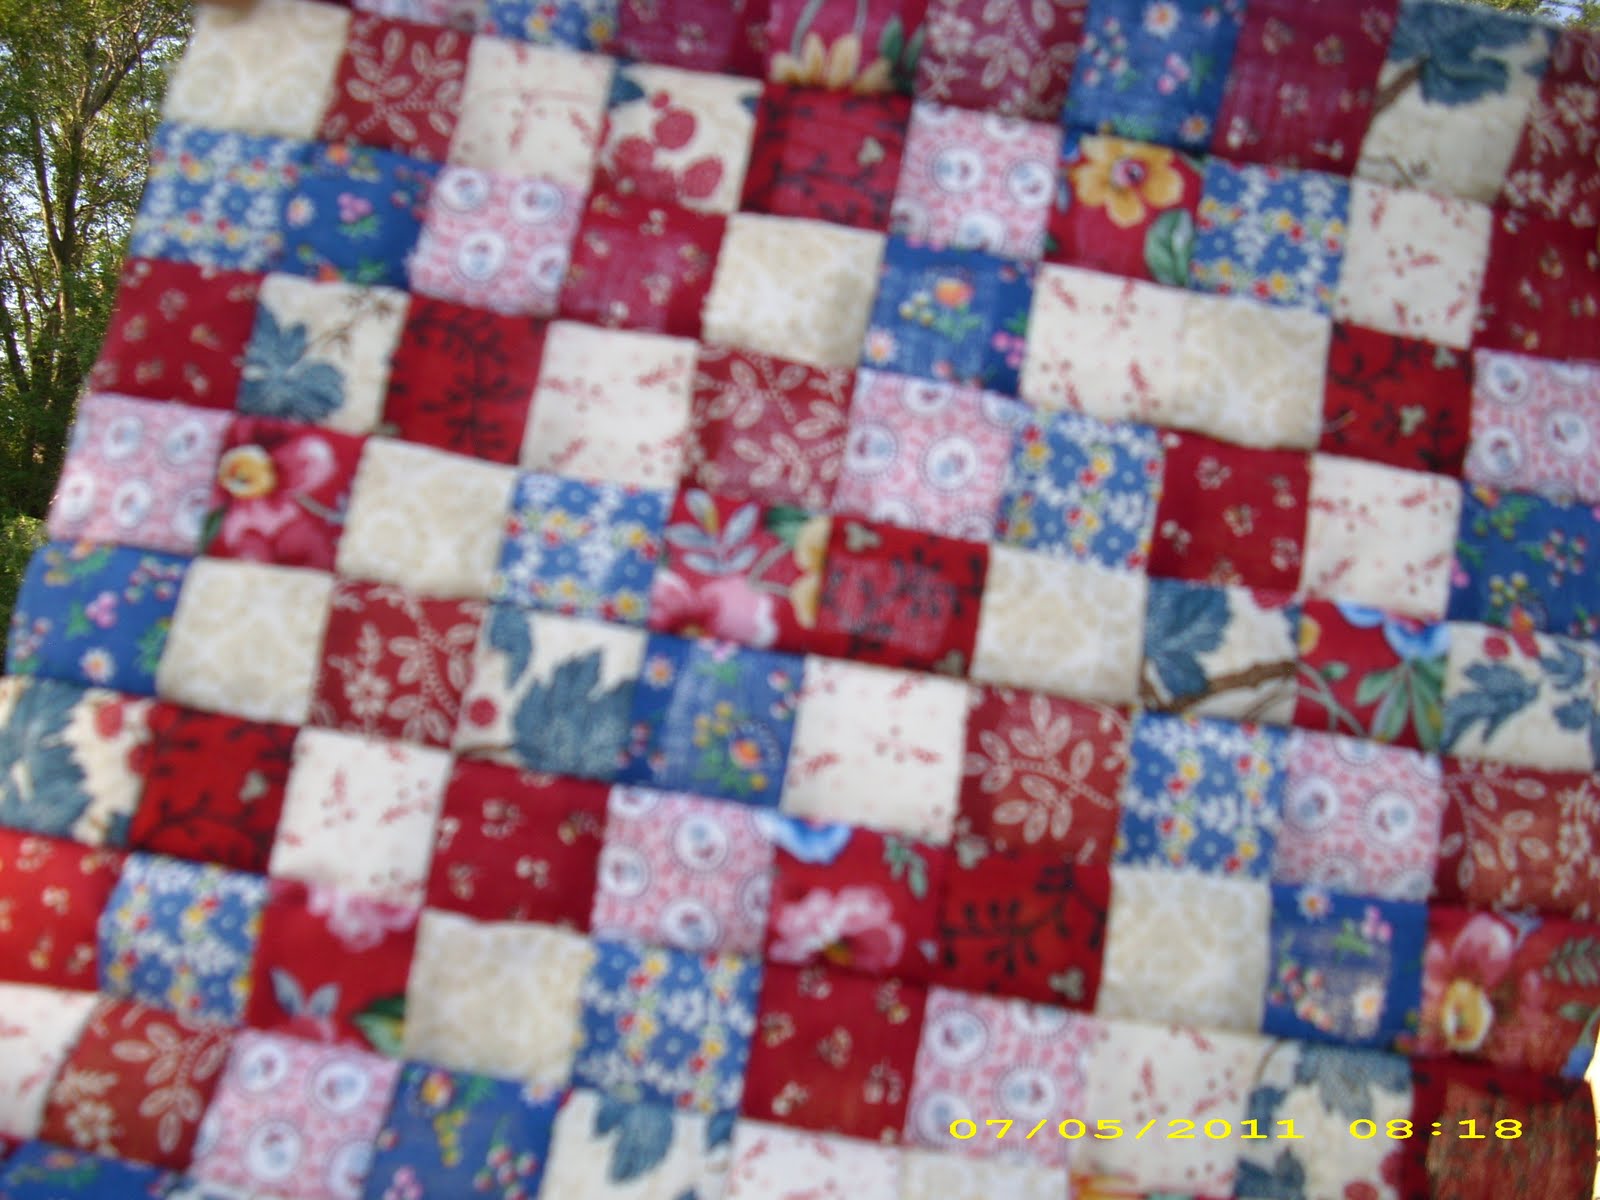
It's kind of a 4-patch in pattern, arranged diagonally across the quilt. Blues and pinks predominate. It's actually not quilted, and it has no batting at all. All it is is the top and the backing, joined at the edge.


I love the fabric patterns and colors in these little 4-patches.


The back is a bold floral print ...


... brought around for part of the border.


But several of the seams are undone and ravelly.


And ... probably why it was so cheap in the first place ... it has a big wax spot in one place. Now ... when I first got it, the wax chunk was HUGE. THICK. I mean it was a regular boulder of wax. I wasn't sure how to deal with it, so I've just had this poor little quilt put away all this time, wondering what to do with it. But during all that storage time, the wax chunk has somehow shrunk to this flat wax spot, and I think perhaps I can scrape this on both sides, maybe try the fels-naptha soap treatment, and see if it will come out. What I imagine is, someone used this as a tablecloth (maybe it was made just for that!), and a wax candle dripped on it.


I just had this flopped over the clothesline, here are some more pretty prints on the other side.


Bigger view of the other side.


So, even with being a "misfit" with a lot of problems (Hey, I identify with that. I'm a misfit with lots of problems, too.), I hope I can try to tackle that wax stain, stitch a few seams closed, and have a colorful table-topper or picnic quilt. Whether it's a person or a thing, give a "misfit" a chance, you might be surprised and pleased. :)

Friday, July 22, 2011

Log Cabin Done!

Ahhhh! The Log Cabin quilt is finished for the fair four weeks from now. :)


Thursday, July 21, 2011

Small Fair Project

This "postage stamp" block with a border and binding will be entered in the local fair as a wall hanging.


You can see here how pressing the seams really helps. Left side is unpressed, right side is pressed. A world of difference!


All pressed.


Starting to layer the backing, batting and pieced block. When putting together quilts, I always have this nagging fear that I might accidentally put the backing "right side up" as I'm layering, which would put it to the INSIDE of the quilt! So I'm always EXTRA CAREFUL that I put the backing "right side down" so it will be on the outside where it belongs! The backing fabric is the same as one of the fabrics used in the block.


Backing, batting and pieced block layered together. I like to have PLENTY of margin around the edge, just for my own quirky peace-of-mind. Plus it gives room for the hoop to grab.


A wonky piece of the batting got trimmed, and now it's all pinned together to keep things from slipping.


In the hoop and ready to quilt! I will do diagonal quilting all through the little squares - like an "X" in each square.

Binding


Today I'm sewing the binding on the Log Cabin quilt. That shouldn't take long, then sew it down by hand, add a label, and it'll be ready for the fair. :)

Monday, July 18, 2011

Jarred


Awhile back, I posted pictures of the "postage stamp" pieces I had cut out in red, white and blue prints. One picture showed them all in a loose pile, and I JOKED about that card "game" called "52-card pickup." (You let the cards fly, and have to pick them all up!)


WELL. I had cut out the new set in some pretty floral prints, and had them nicely arranged in a stack and had them on my project table. Believe it or not, my table gets ... well ... a little full of stuff! Hey, I have a lot of ideas going on! :) So I thought I'd kind of straighten it up a bit, so it didn't look SO bad. Well, in the process, I TIPPED THIS STACK OVER AND IT FELL ON THE FLOOR. There were little tiny squares all over the place under the table and chairs. *SIGH!* I picked them all up, finally went through them, and two were missing. So I cut out two new ones. Now I have the complete set again. But this time, I PUT THEM IN A JAR AND SCREWED THE LID ON GOOD AND TIGHT. They will not go flying again!

Sunday, July 10, 2011

Hideout

While the boys were PLAYING WITH A BEACHBALL IN THE LIVING ROOM, I hid out in the bedroom and got some more pieces cut out for a different postage stamp block.

Thursday, July 7, 2011

Changing Horses

You may have heard the old saying about "changing horses in the middle of the stream." Well, I'm changing borders in the middle of the quilt! I showed this quilt top in an earlier post, that Mom had put together at one point with "painted" picture squares and joined with pink gingham sashing.


You notice in the picture above that there is no gingham around the outside of the blocks. So ... I knew I'd have to put something around this to "finish it out," so to speak. The obvious thing would be to find matching gingham, but that was not to be found. Wallyworld had a few ginghams, but no pink. So, I looked for just some kind of pink florally-print that might "go." I bought what I thought would work, and took it home. Well, pattern-wise it may have worked, but that hue of pink didn't really match the original pink gingham.


But I thought that was all I had to work with (nothing else in my stash seemed to match), so I went as far as to cut out the borders. But that color clash was BUGGING ME, BIG TIME. It nagged and nagged and nagged in my brain. "That's not the same hue. It isn't going to look good."


Thankfully, I listened to myself, and took another look through the fabrics I had on hand. "Hmm, here's a pink with some floral, plus a bit of blue in it." I think I thought I just wanted pink/white in the border, is why I didn't look at it before. But ... I pulled it out, compared it with the quilt top ... the pink hues matched almost perfectly! *Sigh of relief!* Now I won't have to be bugged by a bad choice!


You can see both border materials here, the clashing one on the right that almost has a "violet" tone to it compared to the gingham, and the matching one on the left. I even think those blue flowers will work, to match up with some of the blue colors in the blocks. Don't be afraid to make a change if something is bugging you, even if you're right in the midst of it. Ya gotta do what ya gotta do! I'm happy now. :)

Tuesday, July 5, 2011

Tiny Squares In a Tiny Block

Ahh ... the tiny squares are sewed together! Those little square pieces ending up 1 inch across is pretty small. But it all went together quicker and easier than I thought it would, and I enjoyed sewing them.


Block of tiny squares against the Oklahoma morning sky.


Now all it needs is the white-patterned border around it (around 1 and 1/2 inches wide), then set up with batting and backing to quilt. Then later the binding of, I think, red of some kind. Hopefully this will then be a "small quilted article" for the local fair in August.


Closer ...


... closer ...


... HA!!!


Something interesting about these fabrics - about all of them have been purchased here and there in recent years... walmart, quilt store, etc. But ... you see that one pink print with ovals in it? I made myself a maternity top out of that material back when I was expecting our first baby! He's 18 now. :) So now we know how long that little piece of fabric has been around!

Friday, July 1, 2011

Red-White-and-Blue Find

Look what I found at the thrift store today, just in time for the holiday weekend! It's about 5 feet in length, and a little over a foot wide. I got it for .... $1. A lady apparently made it and did machine sewing in the seams to quilt it. So I'll give it a decorative place for the upcoming holiday ... Happy Fourth of July!